Ceramic Food
Elisabeth WilderHigh School Art: Ceramics unit
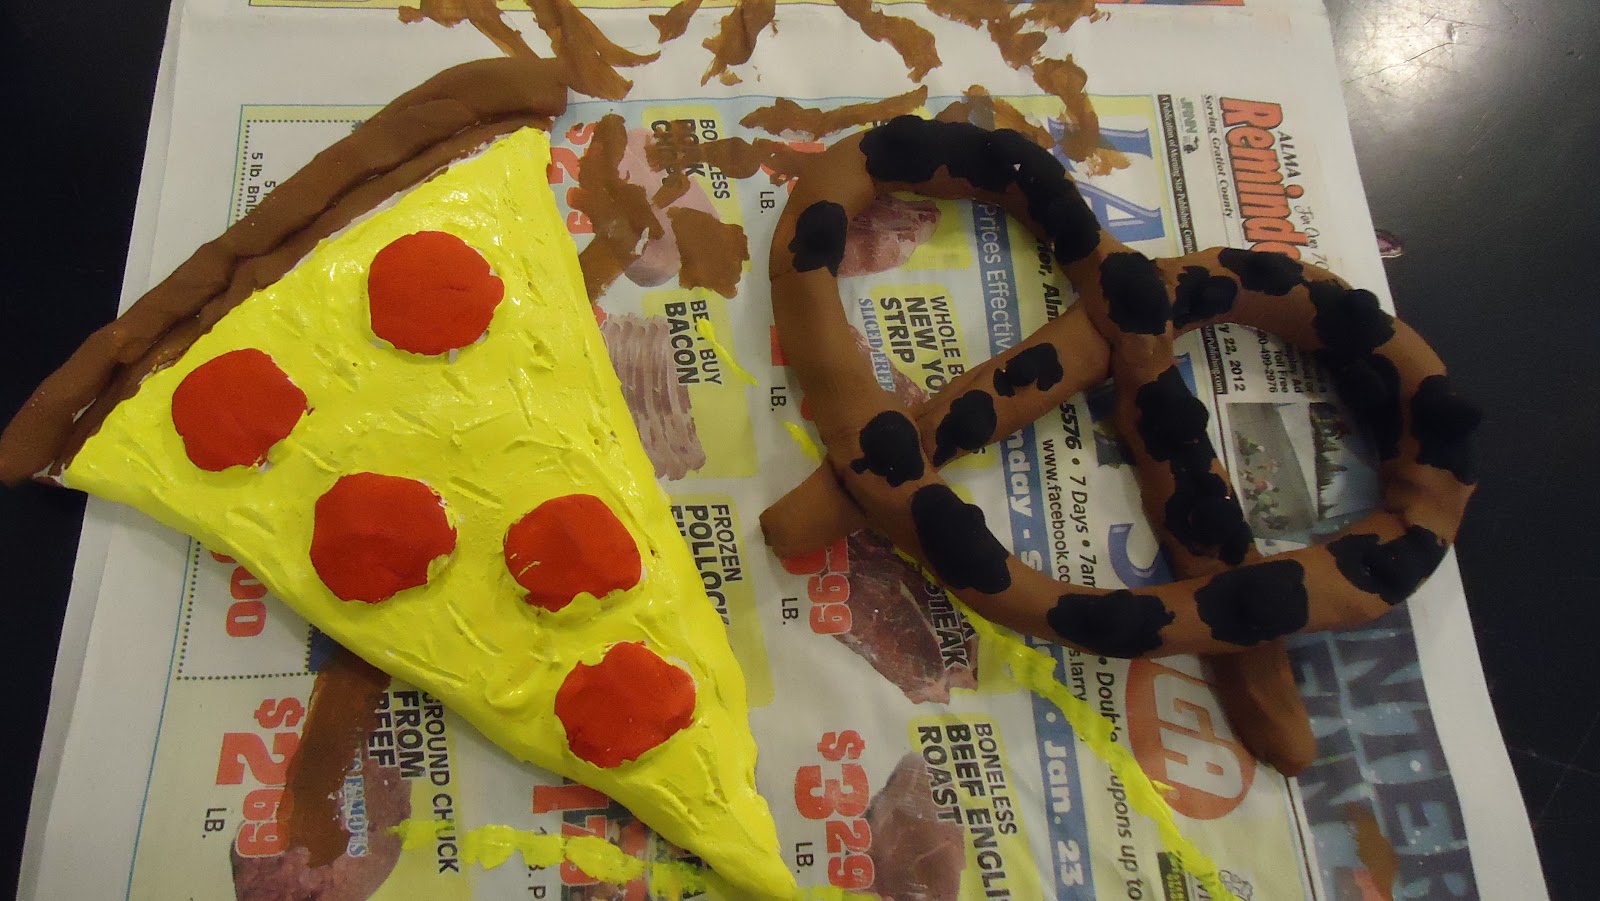
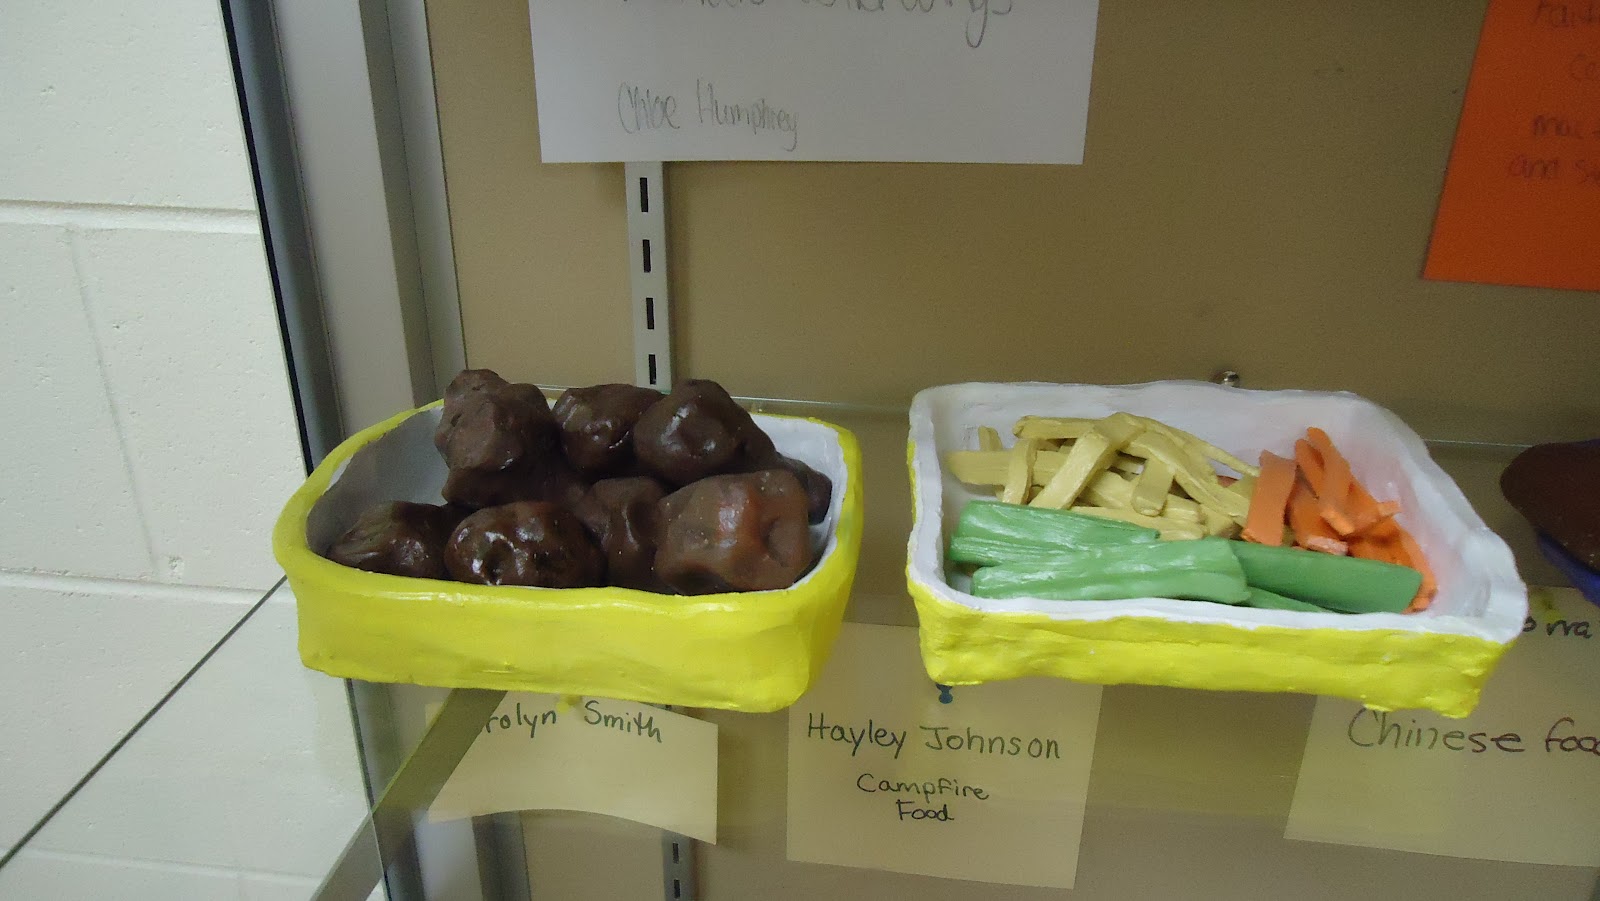
Lesson: Ceramic Food
Time allotted: 1-2 weeks
Michigan Visual Arts Standards:
Performing CS: 1.1, 1.2, 1.3
Creating CS:2.1, 2.2, 2.3, 2.4, 2.5
Background and Preparation
- Talk to the students about the different types of hand building
- Have the students begin by thinking about what they want to make and make sketches in their sketchbooks
- Go over where supplies are, how to get them, how to use tools and proper cleanup procedures
This lesson expands on the basic hand building techniques used in earlier classes and challenges students to re-create ordinary and realistic food from a non traditional media.
Materials:
- Clay
--approximately 2-3 lbs - depending on size of pots.
- Cloth covered table or board (Canvas
- Board or bat for carrying pot
- Plastic bag--large enough for storage of work in progress.
- Rolling Pins
, Clay Slip
- Scoring and Modeling Tools
- Small container of water to moisten hands.
- Kiln
- Clay Tools
- Glaze or acrylic paint
Demo (10-15 minutes)
After reviewing methods and techniques for working with clay have a short discussion about different types of food students could make. Show the PowerPoint with examples. Check that students know what they are to do and have them start.
Objective
After watching the demonstration on how to make coil pots, students will create a coil pot with smoothed coils. This pot should have smooth walls on the inside and outside with a symmetrical shape emphasizing unity form and balance. It should be 8 inches in at least one plane. Once assembled, they will decorate the surface with sgraffito designs that enhance the form and utilize personal symbolism texture or designs and set it out to dry. Once fired, students will finish their work with glaze.
Directions (over a few days)
- You must have a plate that measures 8 inches.
- One food item must measure 6 inches.
- You must create at least 3 food items.
- They must all be realistic as possible
- You may use any technique you want or can to create realistic looking food.
- At the end of each day, materials are to be put away and your work space cleaned up.
- When you are done, Let your piece dry so it can be fired.
- Once fired, paint it using acrylic paints to look as life like as possible.
Throughout the lesson and work time, I will be around for students to ask questions and to provide suggestions and input.
Closure
At the end of each day I will let students know how they are doing and what the plan for the next day is and allow students to ask any other questions they may have.
Rubric
Assessment Rubric
| |||||||
| Student Name: | Class Period: | ||||||
| Assignment: Ceramic Food | Date Completed: | ||||||
| Circle the number that best shows how well you feel that you completed that criterion for the assignment. |
Excellent
|
Good
|
Average
|
Needs Improvement
|
Other
|
Rate Yourself
|
Teacher’s Rating
|
| Criteria 1 – Thought and planning went into what food types to make and how to make them |
10
|
9
|
7-8
|
6
|
0-5
| ||
| Criteria 2 – forms are well made and look realistic |
10
|
9
|
7-8
|
6
|
0-5
| ||
| Criteria 3 – surface treatment-paint or glaze-enhances the overall appearance of the work |
10
|
9
|
7-8
|
6
|
0-5
| ||
| Criteria 4 – Effort: took time to develop idea & complete project? (Didn’t rush.) Good use of class time? |
10
|
9
|
7-8
|
6
|
0-5
| ||
| Criteria 5 – Craftsmanship – Neat, clean & complete? Skillful use of the art tools & media? |
10
|
9
|
7-8
|
6
|
0-5
| ||
| Total Possible: 100 points (Average score x 10) | YOUR TOTAL |
Grade
|


 *
*